 by
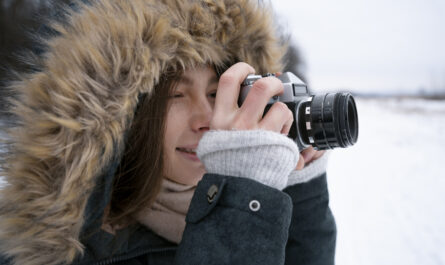
by Ice caves are among the most stunning and ephemeral natural wonders on Earth. Their shimmering blue walls, intricate textures, and glowing formations offer photographers a chance to capture scenes that seem almost otherworldly. However, photographing ice caves is not without risks. The environment is inherently unstable, with melting ice, falling debris, and slippery surfaces presenting serious hazards. For photographers seeking to capture the ethereal beauty of these frozen caverns, understanding safety, equipment, and technique is essential.
This guide provides a detailed approach to photographing ice caves safely while maximizing the potential for breathtaking images.
Understanding Ice Caves
Types of Ice Caves
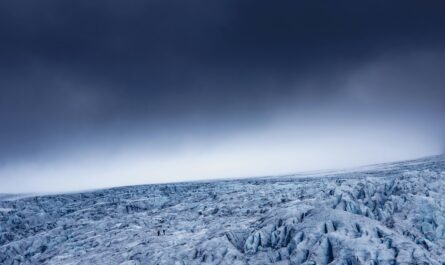
- Glacial Ice Caves:
Formed within glaciers, these caves are shaped by meltwater streams flowing beneath or inside glaciers. They often feature vibrant blue ice due to the compression of ice and the scattering of light. - Lava Tube Ice Caves:
Found in volcanic regions, these caves form in solidified lava tubes. Seasonal ice may accumulate inside, creating temporary ice formations suitable for photography. - Frozen Waterfall Caves:
Waterfalls that freeze in winter can create hollow ice formations behind or within the frozen water. These structures are highly seasonal and can change daily.
The Risks of Ice Caves
Ice caves are visually spectacular but inherently dangerous:
- Structural Instability: Ice can crack, collapse, or shift unexpectedly.
- Falling Ice: Stalactites and icicles may break off without warning.
- Slippery Surfaces: Wet and icy floors increase the risk of slips and falls.
- Cold Exposure: Hypothermia is a real risk during prolonged stays inside caves.
- Limited Accessibility: Remote locations may be difficult to reach, complicating emergency response.
Awareness and preparation are critical for photographers to enjoy ice caves safely.
Safety Precautions Before Entering
Research and Planning
- Check Conditions: Verify weather and glacier reports, as warm temperatures can increase ice instability.
- Know the Cave Type: Understand the specific risks associated with glacial caves, lava tube ice formations, or waterfall caves.
- Seek Local Expertise: Guides familiar with local ice caves can advise on safe access and seasonal changes.
Gear for Safety
- Helmet: Protects against falling ice and bumps against walls or ceilings.
- Crampons or Ice Cleats: Provides traction on slippery surfaces.
- Rope and Harness: Essential for glaciers or caves with vertical drops.
- Insulated, Waterproof Clothing: Maintains warmth and reduces the risk of hypothermia.
- Gloves: Keep hands warm while maintaining dexterity for camera operation.
Travel Companions
- Never enter an ice cave alone. Traveling with a partner or a guided group increases safety and allows for emergency assistance.
Camera Gear Essentials
Choosing the Right Camera
- DSLR or Mirrorless Cameras: Offer control over exposure, low-light performance, and high-resolution images.
- Weather-Sealed Bodies: Protect against moisture from dripping ice.
- Full-Frame Sensors: Improve low-light performance in dimly lit caves.
Lenses
- Wide-Angle Lenses: Capture expansive ice formations and cave interiors.
- Macro Lenses: Highlight intricate textures of ice crystals and icicles.
- Fast Lenses (f/2.8 or lower): Useful for low-light conditions without excessive ISO noise.
Tripods and Stabilization
- A sturdy tripod is essential for long exposures in low light.
- Consider compact, lightweight tripods if navigating narrow or slippery areas.
- Use weighted tripods or anchors to prevent tipping on uneven ice surfaces.
Accessories
- Remote Shutter Release: reduces camera shake over extended exposures.
- Lens Cloths and Silica Packs: Combat condensation and moisture buildup.
- Protective Covers: Shield cameras from dripping water and splashing ice.
Techniques for Ice Cave Photography
Lighting
Natural light is often limited and variable in ice caves. Photographers can enhance images using:
- Reflective Surfaces: Blue ice reflects ambient light, creating a glowing effect.
- LED Panels or Headlamps: Provide controlled lighting without melting ice.
- Long Exposures: Capture low-light details, ensuring stability with a tripod.
Composition
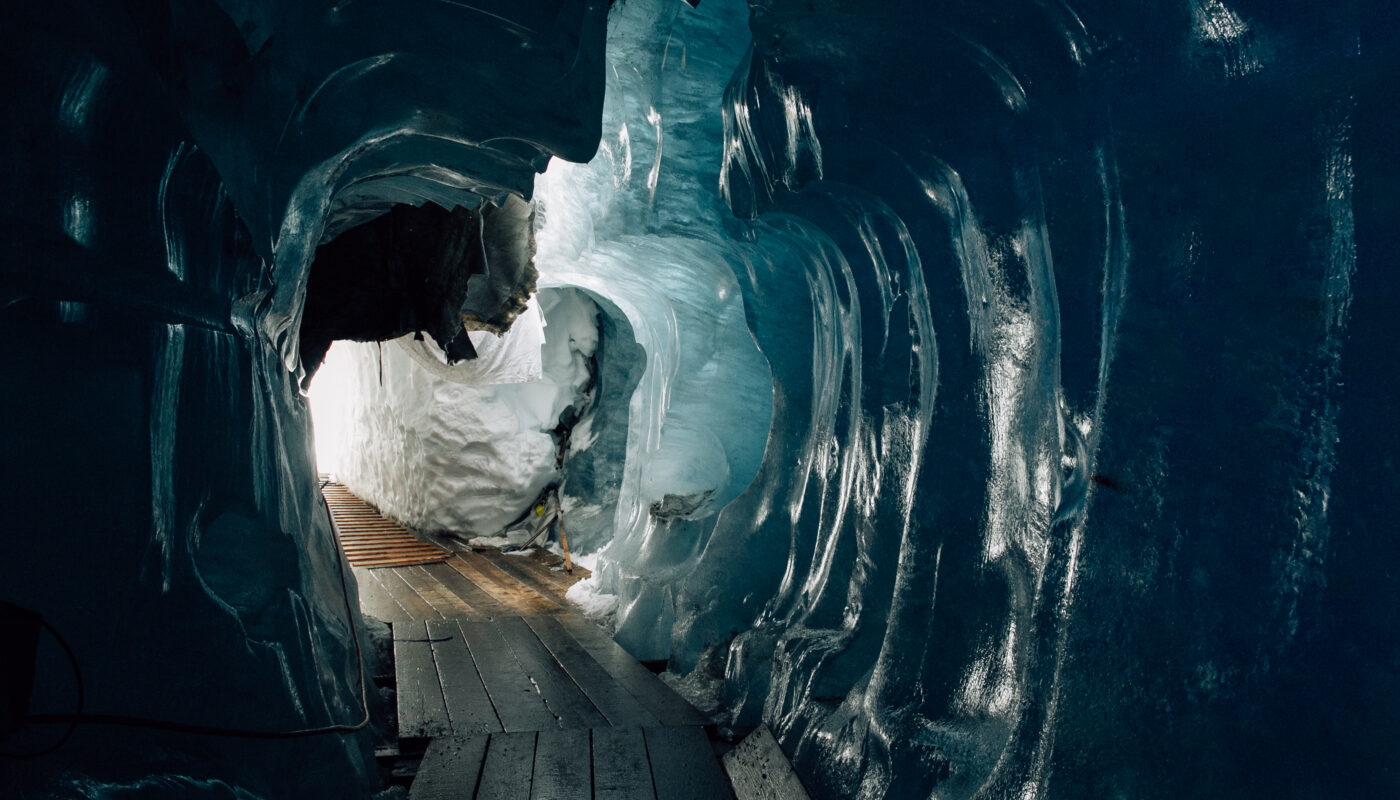
- Leading Lines: Use the curves of ice tunnels or cracks to guide the viewer’s eye.
- Textures and Patterns: Highlight unique ice formations, striations, and bubbles trapped in ice.
- Scale: Include a human or recognizable object to convey the size of the cave.
Exposure Settings
- Low ISO: Reduces noise in dim environments.
- Aperture Control: Balance depth of field and available light; f/5.6–f/11 is often effective.
- Shutter Speed: Longer exposures capture ambient light, but movement may require adjustment.
Protecting Your Equipment
- Condensation Prevention: Transition slowly between warm outside air and cold cave air. Use lens hoods and silica packs.
- Battery Management: Cold drains batteries quickly; carry spares in insulated pockets.
- Moisture Management: Wipe down cameras and lenses regularly to avoid frost or water damage.
Seasonal Considerations
Winter
- Caves are often more stable when temperatures are consistently below freezing.
- Ice formations are fully developed, with vibrant colors and textures.
- Risk of hypothermia and frostbite is highest—prepare accordingly.
Spring
- Melting begins, increasing the risk of falling ice and slippery surfaces.
- Some caves may become inaccessible due to unstable conditions.
- Lighting can be optimal, with sunlight penetrating cave openings.
Summer
- Many ice caves in temperate regions may disappear or become hazardous.
- Glacial caves may retain ice at higher altitudes, but water flow and melting ice increase risk.
Ethical and Environmental Considerations
- Avoid touching delicate ice formations, which can melt or break easily.
- Do not leave trash or equipment behind—ice cave environments are fragile.
- Respect wildlife that may inhabit cave entrances or nearby areas.
- Follow local guidelines and restrictions to minimize ecological impact.
Emergency Preparedness
- Carry a fully charged phone or satellite communication device if possible.
- Keep a first aid kit accessible.
- Know escape routes and cave exit points before venturing deep inside.
- Inform someone outside of your expected return time.
Advanced Tips for Professionals
- HDR Photography: Combines multiple exposures to balance bright entrances and dark interiors.
- Focus Stacking: improves macro ice pictures’ depth of field.
- Polarizing Filters: Reduce glare on wet ice surfaces.
- Time-Lapse Photography: Captures changes in lighting or melting patterns over time.
Conclusion
Photographing ice caves offers a rare opportunity to capture one of nature’s most spectacular and fleeting displays. Their luminous walls, intricate textures, and sculpted formations create images that are simultaneously magical and awe-inspiring. However, these environments demand respect, preparation, and careful planning. By understanding the types of ice caves, equipping yourself with the proper gear, mastering photography techniques, and prioritizing safety, you can create extraordinary images while minimizing risk.
Ice caves remind us of both the fragility and resilience of nature. For photographers willing to venture into these frozen worlds, the rewards are not just beautiful images—they are unforgettable experiences that connect us with the raw, silent beauty of the Earth’s icy heart.