 by
by Photographing glaciers is already a rewarding challenge, but doing so in bad weather transforms the experience into something far more dramatic—and far more demanding. Experienced travelers are aware that storms, fog, snow, and wind can expose a glacier’s genuine nature, whereas many photographers wait for clear skies and golden light.
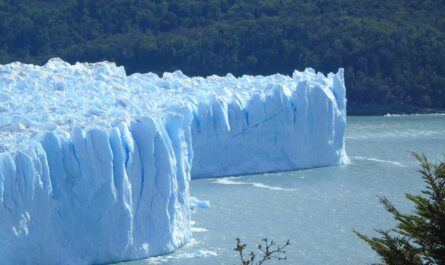
From the icy expanse of Vatnajökull to the rugged formations of Perito Moreno Glacier and the vast icefields of Aletsch Glacier, bad weather introduces mood, texture, and atmosphere that simply cannot be replicated on a sunny day.
This guide will walk you through how to safely and effectively photograph glaciers in challenging conditions while capturing images that stand out for their depth and emotion.
Why Bad Weather Can Improve Glacier Photography
At first glance, poor weather might seem like a disadvantage. However, it often enhances glacier photography in unexpected ways.
1. Dramatic Atmosphere
Storm clouds, mist, and snowfall create a moody environment that adds emotional weight to your images. Instead of bright, flat lighting, you get contrast, depth, and mystery.
2. Enhanced Textures
Overcast skies act as a natural diffuser, softening harsh shadows and bringing out subtle textures in ice formations, crevasses, and ridges.
3. Fewer Crowds
Bad weather tends to keep casual tourists away, allowing you to photograph glaciers in solitude—an invaluable advantage when composing clean, uninterrupted shots.
Understanding the Challenges
Before heading out, it’s important to recognize the obstacles that come with photographing glaciers in bad weather.
- Low visibility due to fog or snowfall
- Rapidly changing light conditions
- Equipment exposure to moisture and cold
- Safety risks on icy terrain
Being prepared for these challenges is key to both your safety and the quality of your images.
Essential Gear for Harsh Conditions
1. Weather-Sealed Camera and Lenses
A weather-resistant camera body and lens are crucial when dealing with snow, rain, and freezing temperatures.
2. Protective Covers
Use rain covers or even improvised solutions to shield your gear from moisture.
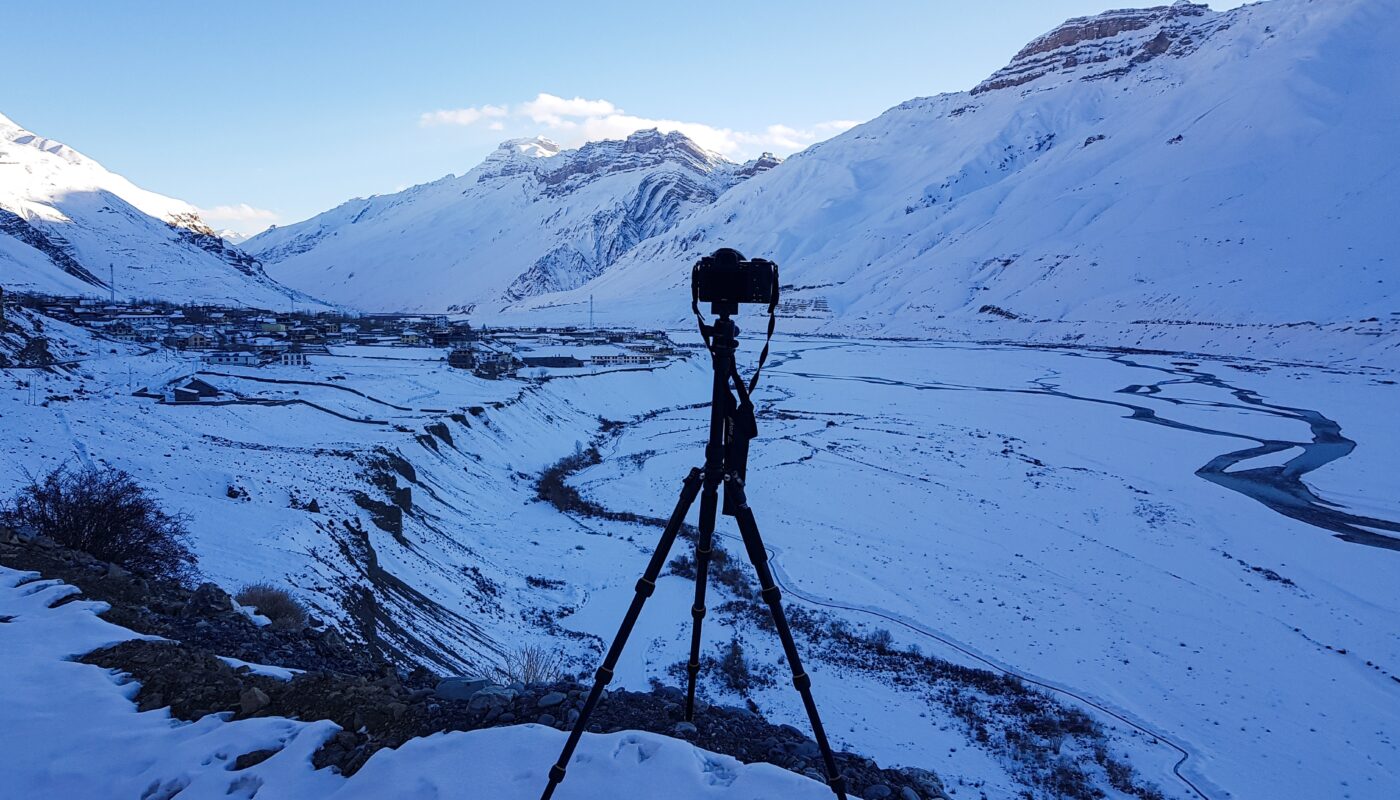
3. Tripod for Stability
Wind and low light often require slower shutter speeds. A sturdy tripod ensures sharp images.
4. Spare Batteries
Cold weather drains batteries quickly. Keep extras warm in your pocket.
5. Microfiber Cloths
Constantly wipe away snowflakes or condensation from your lens.
Mastering Light in Difficult Conditions
Bad weather alters how light interacts with the glacier.
Overcast Days
Cloud cover diffuses sunlight, reducing contrast and creating soft, even lighting. This is perfect for capturing intricate ice details without harsh highlights.
Snowstorms
Falling snow adds depth and movement to your images. Use a faster shutter speed to freeze snowflakes or a slower one to create streaks for artistic effect.
Fog and Mist
Fog simplifies compositions by removing distractions. It allows you to focus on shapes, lines, and textures within the glacier.
Camera Settings for Glacier Photography
1. Adjust Exposure for Snow
Snow can trick your camera into underexposing images. Increase exposure compensation slightly to keep whites bright and clean.
2. Use Low ISO When Possible
Maintain image quality by keeping ISO low, but don’t hesitate to raise it in low-light situations.
3. Control Shutter Speed
- Fast shutter: freeze snow and ice movement
- Slow shutter: create motion blur in falling snow or water
4. Aperture Choices
A smaller aperture (higher f-stop) keeps more of the scene in focus, especially useful for landscapes.
Composition Techniques in Bad Weather
1. Focus on Details
In low visibility, wide landscapes may lose impact. Instead, zoom in on:
- Ice patterns
- Cracks and crevasses
- Frozen bubbles or textures
2. Use Leading Lines
Glacier formations naturally create lines that guide the viewer’s eye. Use these to build strong compositions.
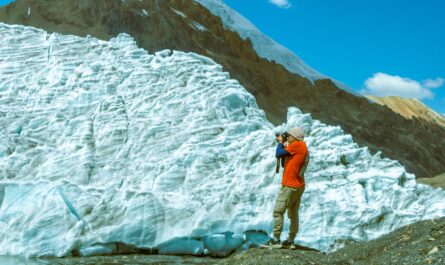
3. Include Scale
Add a person, animal, or object to show the immense size of the glacier.
4. Embrace Minimalism
Fog and snow naturally simplify scenes. Use this to create clean, minimalist images with strong visual impact.
Working with Color and Contrast
Glaciers are not just white—they contain shades of blue, gray, and even black.
Enhance Natural Blues
Ice often appears blue due to light absorption. Overcast conditions can make these tones more visible.
Capture Contrast
Dark rocks against bright snow create striking visual contrasts.
Use Monochrome
Bad weather scenes often translate beautifully into black-and-white photography, emphasizing texture and form.
Protecting Your Equipment
Bad weather can be harsh on your gear, so take precautions:
- Keep your camera in a waterproof bag when not in use
- Avoid changing lenses in snow or rain
- Let your gear acclimate slowly when moving indoors to prevent condensation
Safety First: Navigating Glacier Environments
Photographing glaciers is not just about creativity—it’s also about safety.
- Watch for hidden crevasses
- Be cautious on slippery ice
- Monitor weather changes closely
- Consider hiring a guide in unfamiliar areas
Glaciers are dynamic and potentially dangerous environments, especially in bad weather.
Creative Opportunities Unique to Bad Weather
1. Snowfall as a Subject
Snow can add texture and depth, turning a static scene into something dynamic.
2. Ice and Water Interaction
Melting ice, flowing water, and freezing conditions create ever-changing compositions.
3. Reflections in Wet Surfaces
Rain or melting snow can create reflective surfaces that enhance your images.
Timing Your Shoot
Even in bad weather, timing matters.
- Early morning: softer light and fewer people
- Late afternoon: subtle color shifts in the sky
- During storms: dramatic skies and unique conditions
Being patient and waiting for the right moment can make a significant difference.
Post-Processing Tips
Editing plays a key role in bringing out the best in your glacier photos.
- Adjust exposure and contrast to highlight details
- Enhance blues and cool tones carefully
- Reduce noise from higher ISO settings
- Use clarity and sharpness to emphasize textures
To maintain the scene’s reality, keep cuts natural.
Lessons from Iconic Glacier Locations
Photographers working in places like Vatnajökull or Aletsch Glacier often embrace unpredictable weather rather than avoid it.
These locations demonstrate that the most compelling images often come from challenging conditions—where light, ice, and atmosphere interact in unexpected ways.
Final Thoughts
Photographing glaciers in bad weather is not about fighting the elements—it’s about working with them. Snow, fog, wind, and low light are not obstacles; they are tools that can elevate your photography to a new level.
By understanding how to adapt your techniques, protect your equipment, and stay safe, you can capture images that go beyond simple documentation. You can tell a story—one of resilience, beauty, and the raw power of nature.
In the end, the most memorable glacier photographs are not always taken under perfect skies. They are created in moments of unpredictability, where the landscape reveals its most authentic and dramatic self.